Start a new Myelin Project
In this getting started guide, you will be guided throught the process of setting up a new project.
Create a project
When you open Myelin Director with a valid license, or continue to Myelin Director using a trial or in 'Free mode', you are greeted with the project selector.

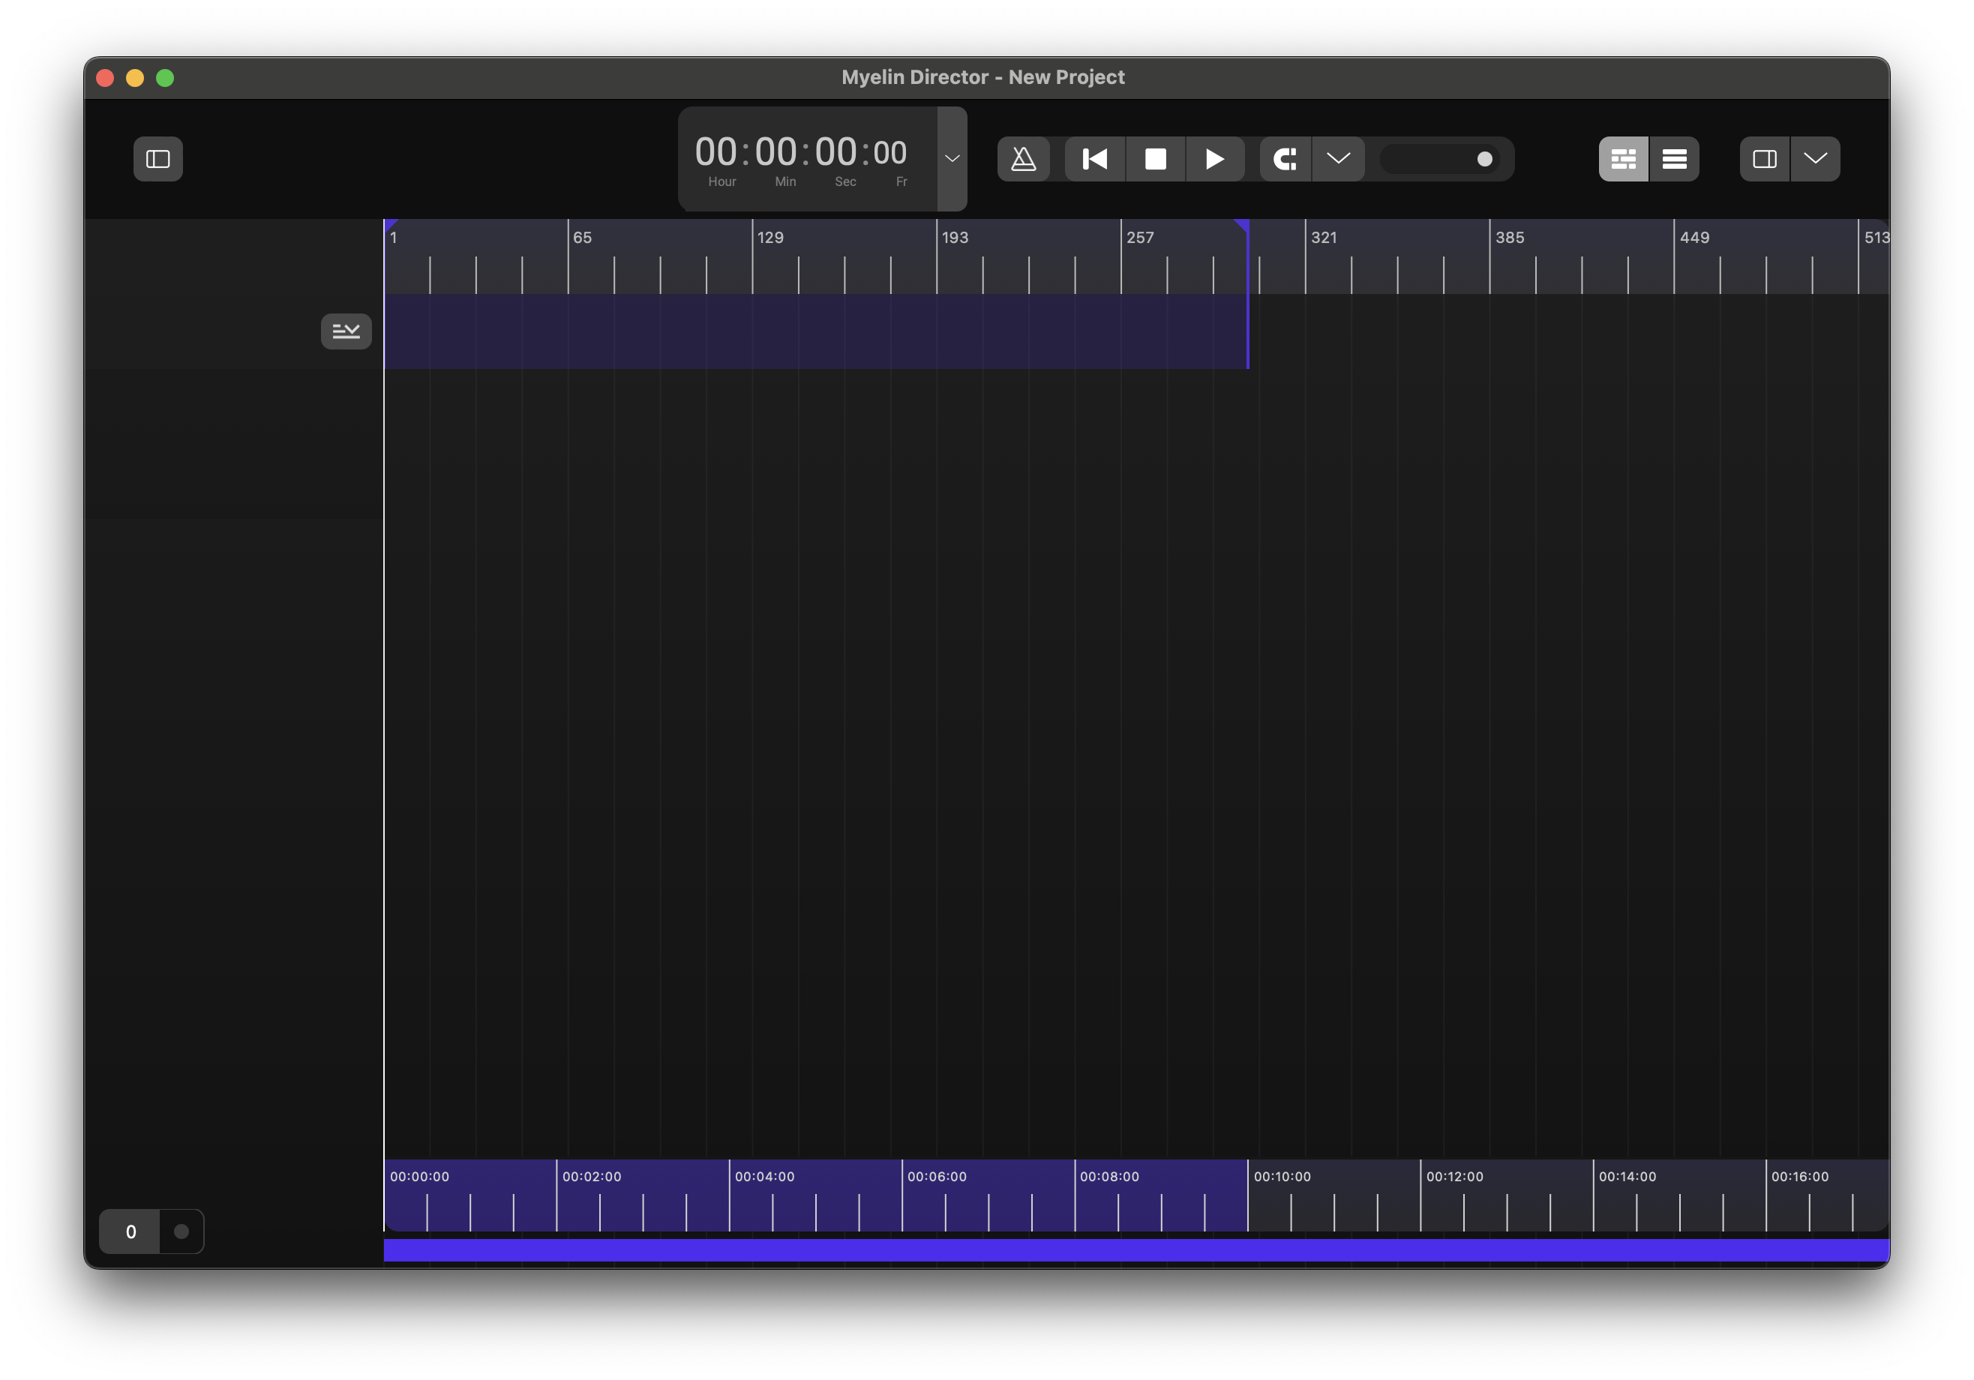
To start a new project, click [Create new Project]. Select a save location for the project and click [Save]. A new blank project opens.
Insert a track
On the sidebar of the timeline, you can insert tracks by right clicking and selecting a track type.

There are 7 track types to choose from:
- Audio tracks
- Visual media tracks
- Note tracks
- Trigger tracks
- Timecode tracks
- Click tracks
- Group tracks
In the 'special' tracks section of the timeline, you also find the Regions track
For this getting started guide, we will create an Audio Track.

To view and edit the track's settings, we open up the left sidebar, by clicking the sidebar icon at the top left of the window.

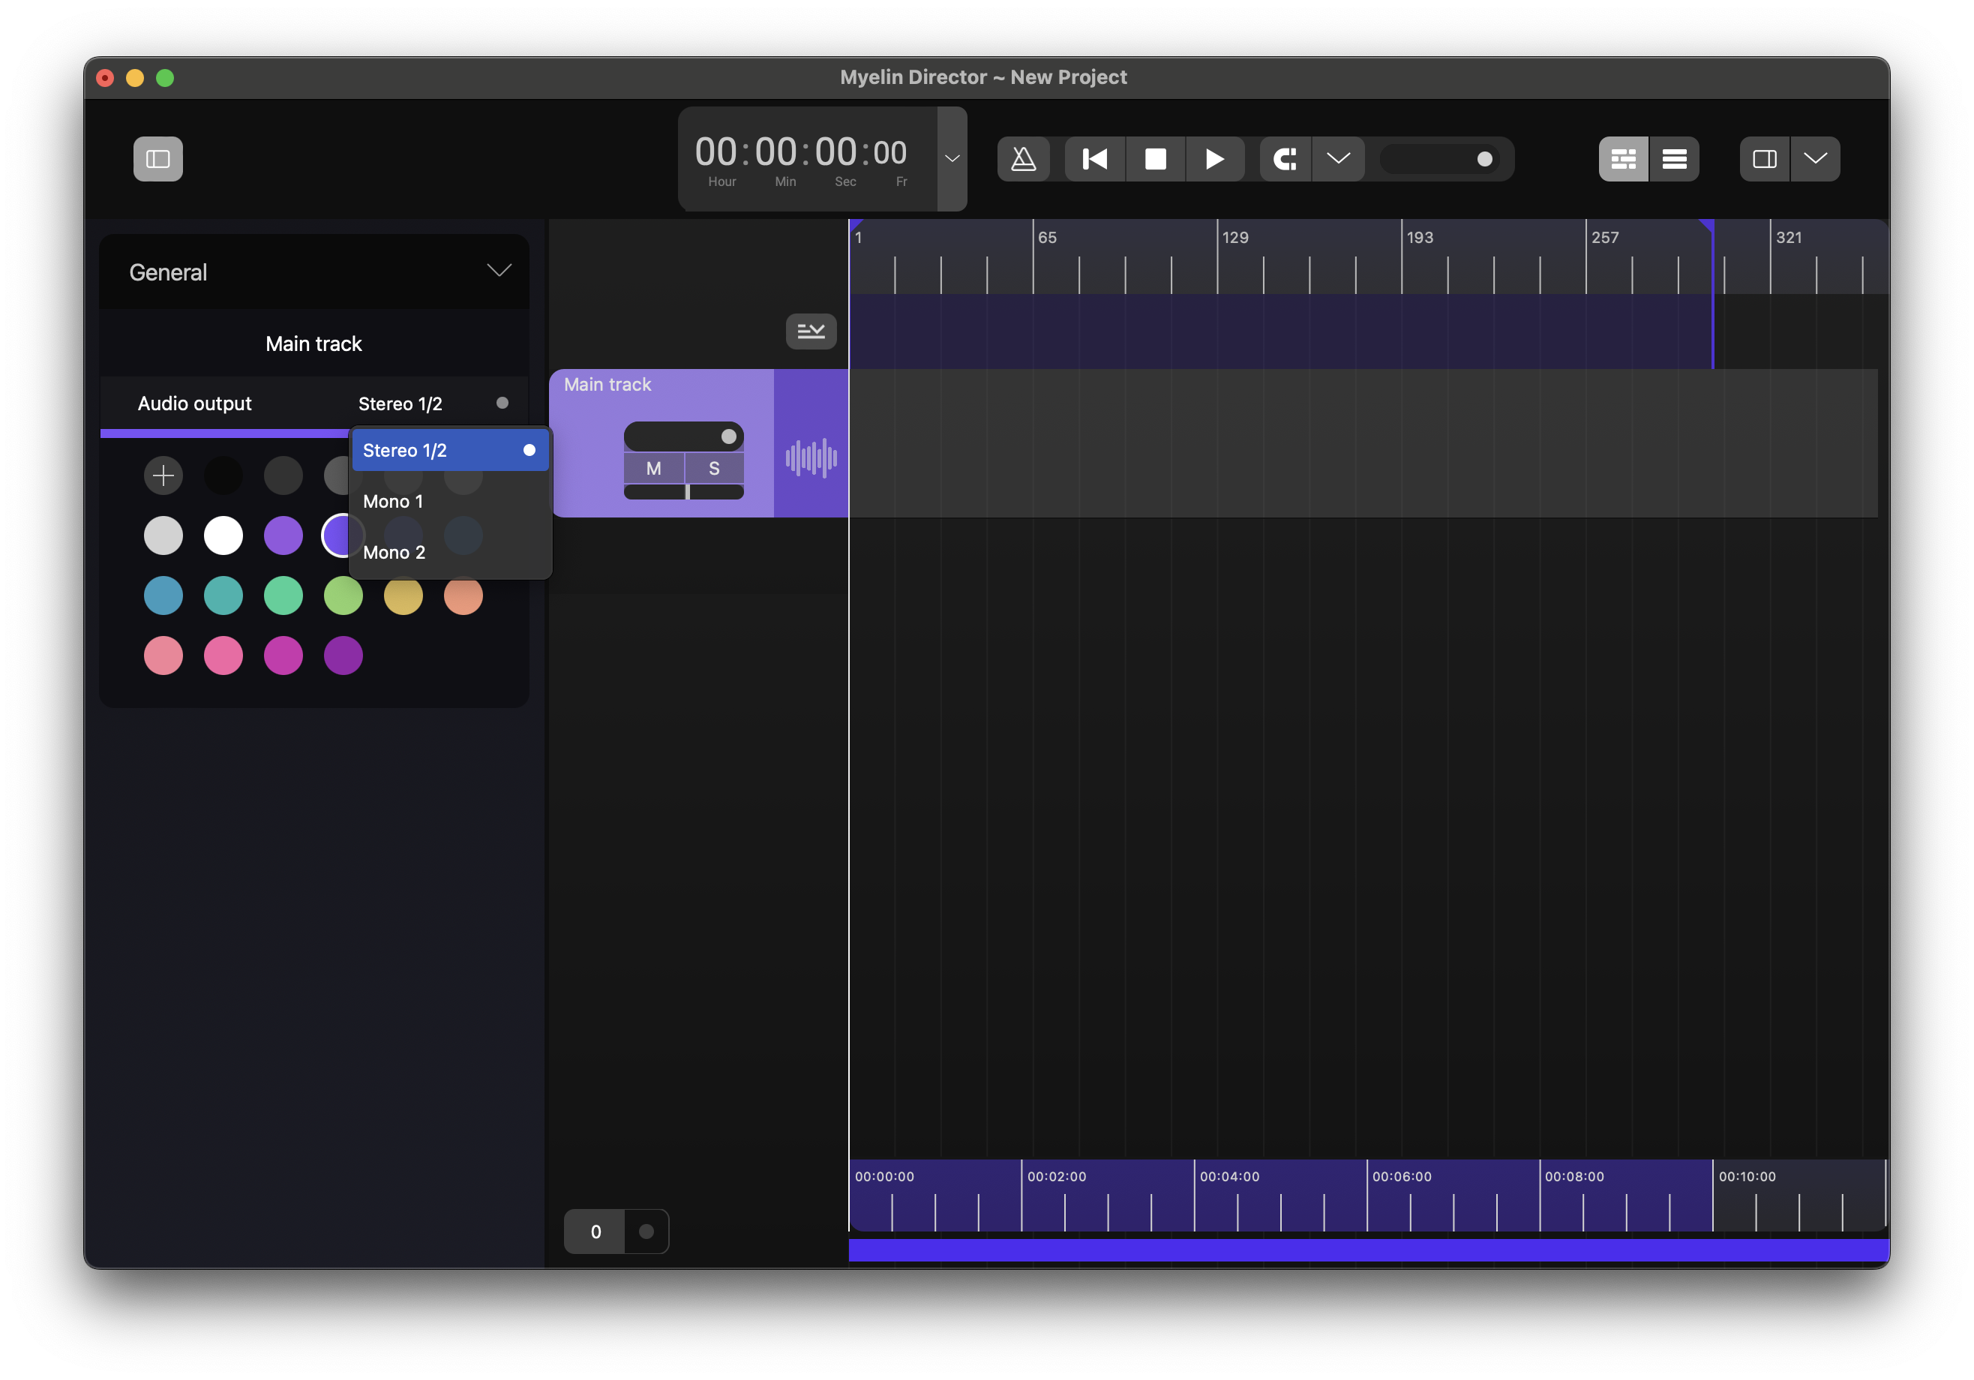
By selecting the tracks, we can view and edit the track's settings. We change the name and the color of the track.

By default, a new audio track's audio output is 'Stereo 1/2'. When we click the audio output, we can see the audio ouputs to choose from.

Audio preferences
In this case, we have not yet configured the audio settings for the application yet, so there are no options.
If there are no options available, or an audio output that was present before isn't anymore, the setting will remain, and it will pick up the audio output as soon as it is available again.
To open the audio preferences window, we click [Myelin Director] -> [Preferences] in the menu bar on macOS, and [File] -> [Preferences] in the menu bar on Windows.

Here, you can select the audio output for the audio tracks and LTC SMPTE timecode output, and audio input for the SMPTE LTC timecode input. You can also choose your preferred sample rate and buffer size.
Please note: video files in Myelin Director are played using the OS's native video player. The audio of the video is therefore routed through the OS's selected audio device as well. For several formats, you can load the video on an audio track as well, to have control of the audio outputs.

When you have selected an audio output device, they will show up in the audio track's audio output settings.
You can import an audio file to the track by right clicking at point you want the audio file to start and click 'Add audio file', or by dragging and dropping an audio file onto the track.
For this guide, we will use an .WAV audio file, that contains tempo data, exported by Logic Pro.
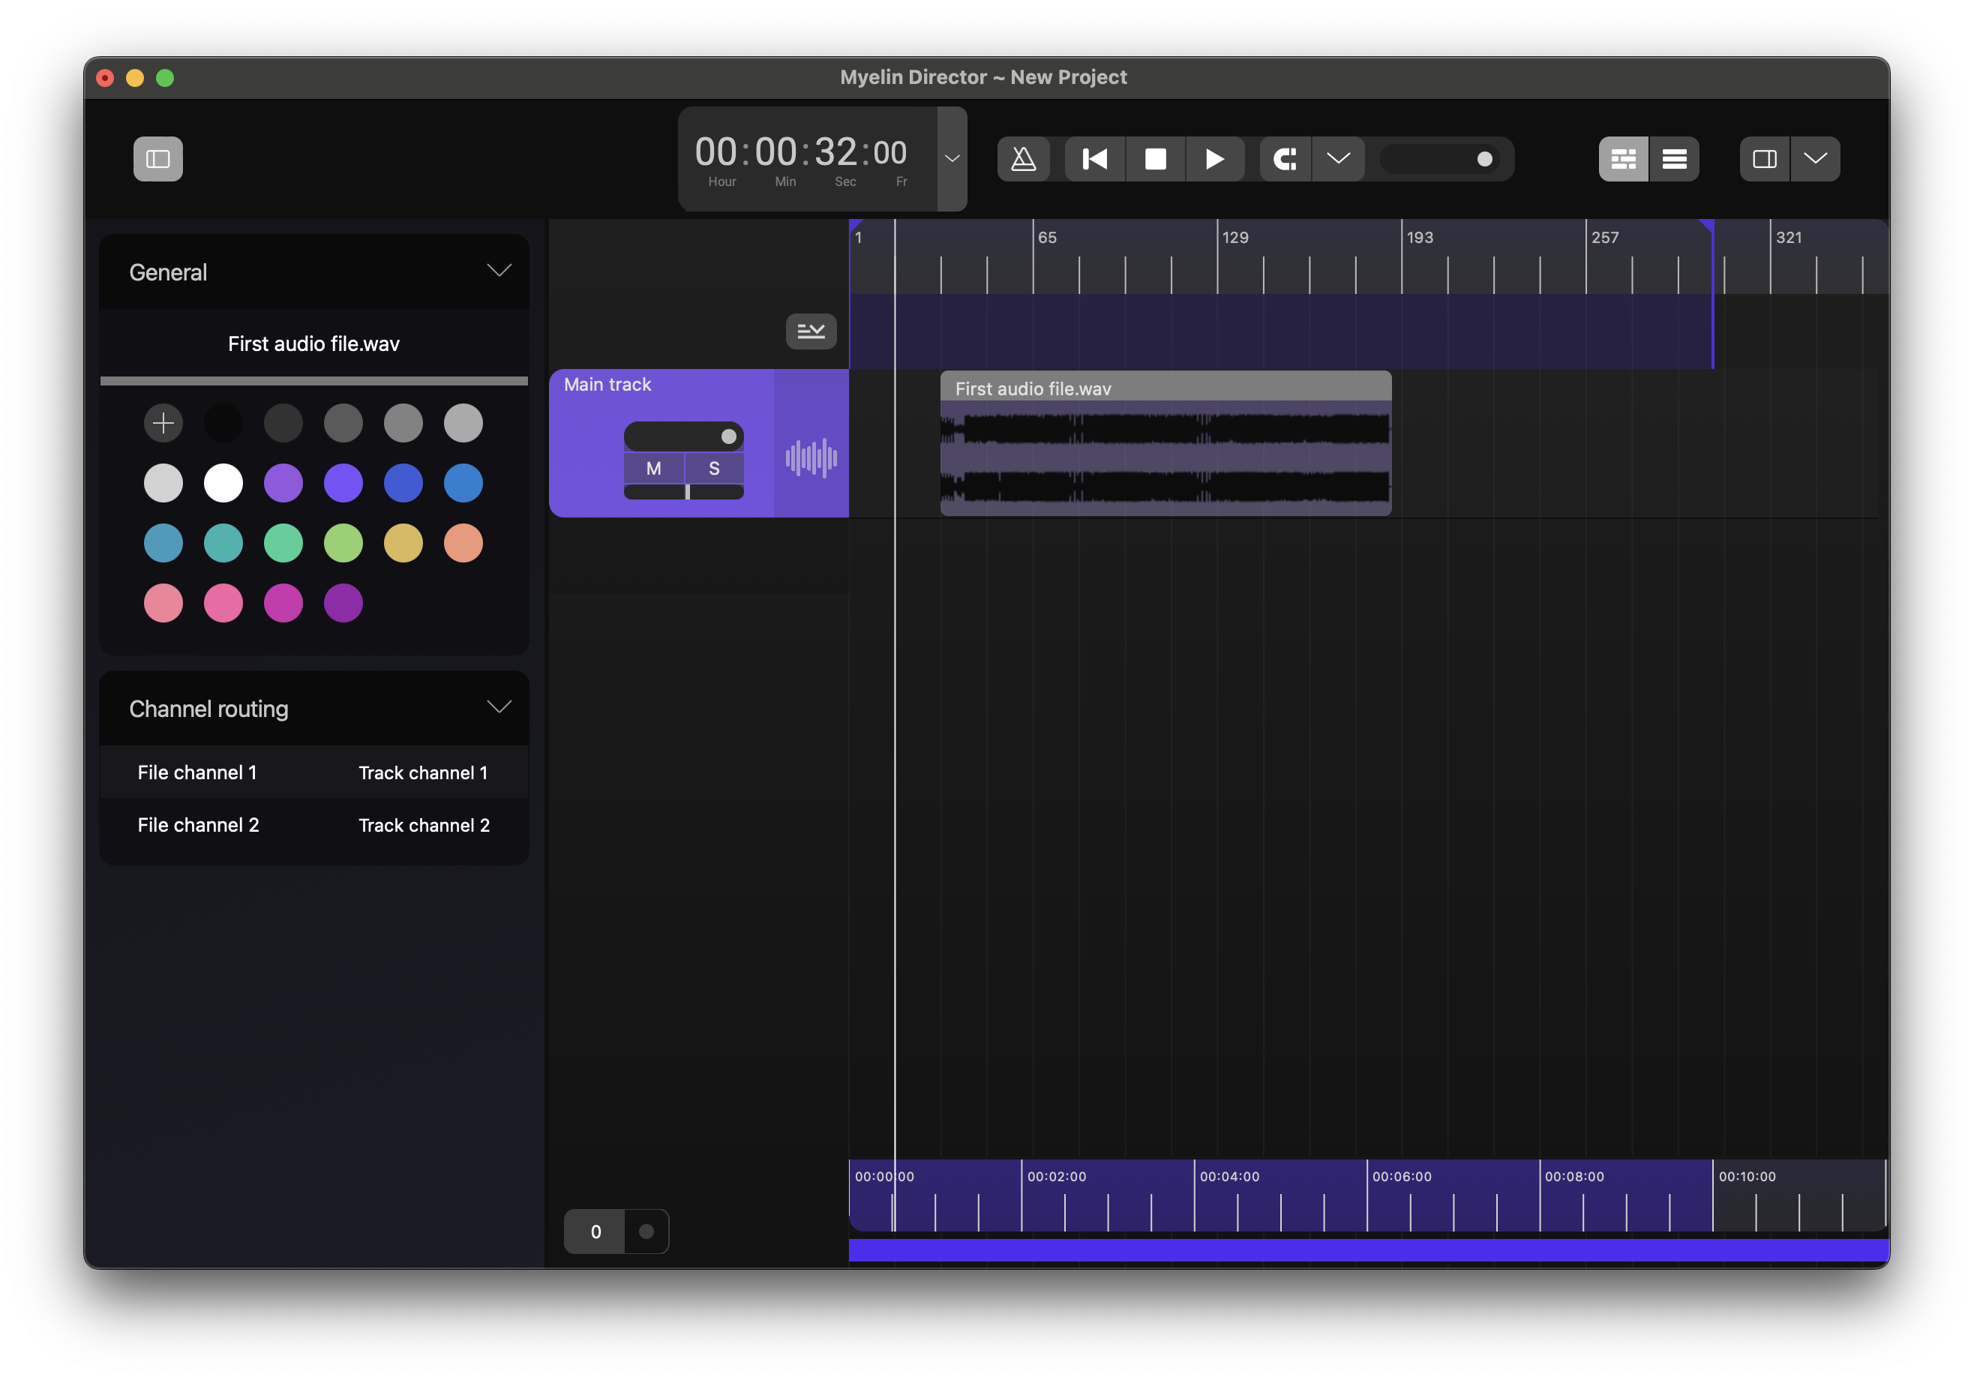
We can change the name and the color of the file, as well as the channel routing. By default, the channels are routed one-to-one for a stereo track, and do not need to be altered. The volume and panning of the track can be altered on the track strip, where you also find the mute and solo buttons.
Change the project's tempo and signature
To view the signature and BPM information of the project, you can unfold the 'special' tracks section of the timeline, by clicking the button at the top right of the track strips.

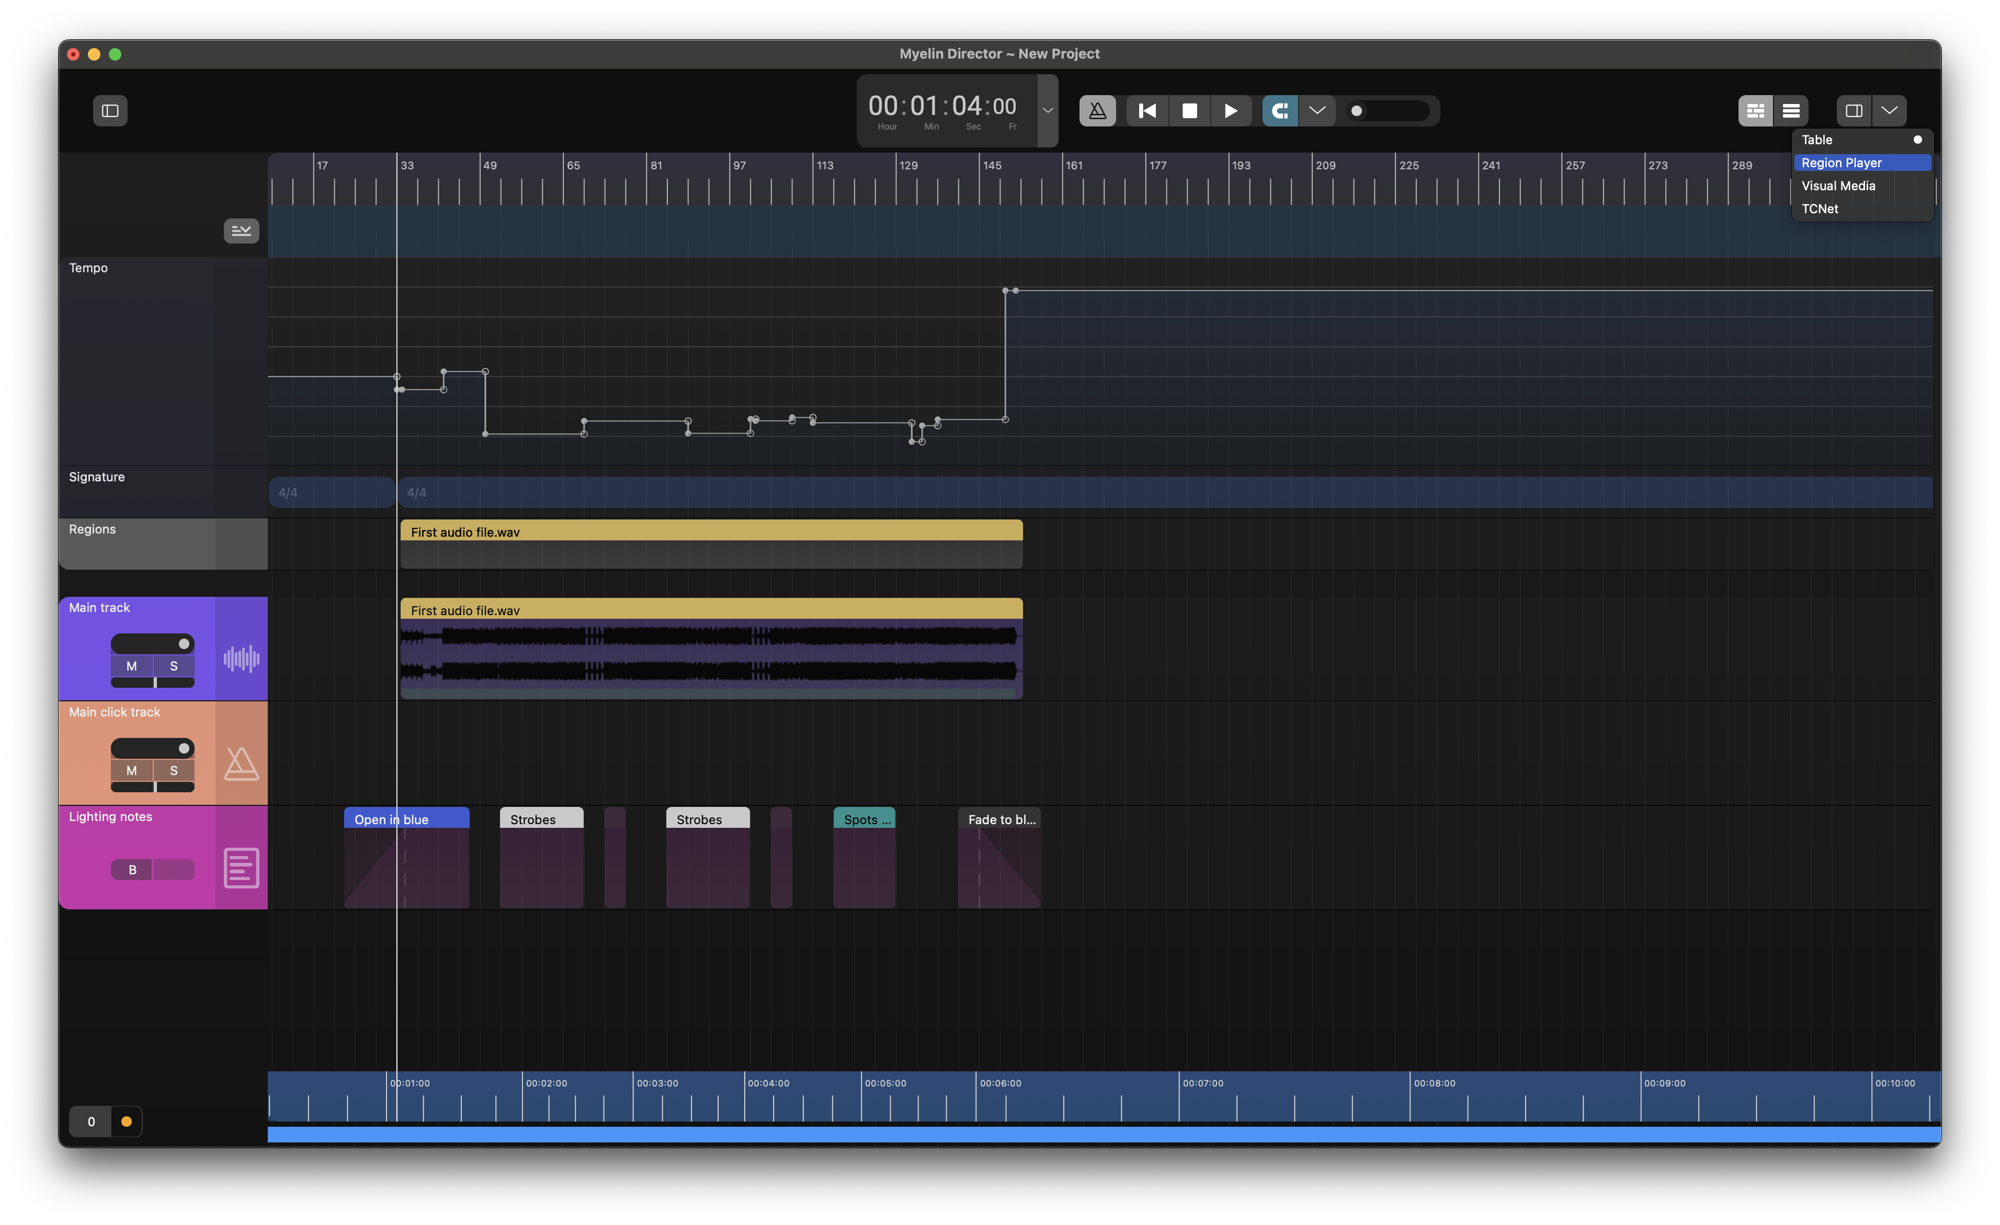
You can alter the project's tempo and signatures directly, by creating BPM points and signature sections in the Tempo track and Signature track, by importing a MIDI file's data, as well as by editing an audio file's tempo and signature data.
In this guide we will use the tempo editor method to end up with a project looking like this:

Click track
Now that we have used the audio file's meta data and the tempo editor to apply the audio file's tempo to the project, we will insert a click track.
Left click on the sidebar and click [Add click track]. We change the color and the name of the track.

In the left sidebar, we can select the audio output, as well as the samples used for the click. Myelin Director comes with its default beat and bar tick samples. You can use your own .WAV samples by copying them into ~/Documents/Myelin/Samples/Click/.

To enable the playback of click tracks, enable the metronome button in the transport control section at the top of the window. Now, the click track is active and follows the project's bpm.

Notes
Now that we have an audio file, the correct tempo and signature, and a click track, we have a good foundation for adding content. In this example, we are going to create a few notes.
Left click on the sidebar and click [Add note track]. We change the color and the name of the track. We are going to create notes for the lighting designer.

We zoom in on the timeline, by either scrolling the mouse wheel at the top of the grid, holding CMD/CTRL and scrolling the mouse wheel, or by dragging the mouse while the left mouse button is down at the top of the grid.
We select the desired area for the note on the drag and right click and click [Add note].

We change the note's color and name to refect its function.

We can change the start, length and fade times of the note, by moving the note and selecting and dragging the sides.

We can add, copy and cut more notes. You can quantize notes as well, by right clicking and clicking [Quantize] and selecting the desired quantization.

MIDI and OSC triggers
The notes that we just created, as well as triggers, created on a trigger track, can be used to trigger external software and hardware.
Find out more about configuring triggers here.
Regions
We have created content for our 'First audio file'. To simplify its playback and mark its place on the timeline, we can create a region in the Regions track. We can either do this manually, in the same way as we created the notes, but we can also right click on the audio file, and select [Create region]. Before we do that, we change the color of the audio file, to make it stand out better. The region will have the same color and name, as the content it is based on. We remove the .WAV extension.

When we want to playback the project, we might want to hide the left sidebar, and open the right sidebar, with the Region Player.
By clicking the 'play' icon of the region in the Region Player, we can playback the region.

Table viewer
Now that we have created some content, we might want to view it in a more structured way. In order to do so, we can open the table view, by clicking the 3 bars icon at the top right of the window.

Columns can be enabled and disabled by clicking the three bars at the right of the table. The order of the columns can be changed by draging the headers. The columns 'TRACK', 'TYPE', and 'STATUS' can be used to filter content. Click the respective column header to show its filter options.
If we go back to the timeline view, we can also show the table in the right sidebar, by picking the 'Table' option at the top right sidebar selector. The size of the sidebar can be changed by dragging its left side. Some activated columns might not be visible if the size of the tabe is too small.

End of getting started guide
In this getting started, you have learned how to setup a basic Myelin Director project, containing audio, a click track and some notes.
With Myelin Director, you are able to do many more things. To learn about them, please check out their documentation pages by using the navigation section on the left.