Timecode tracks
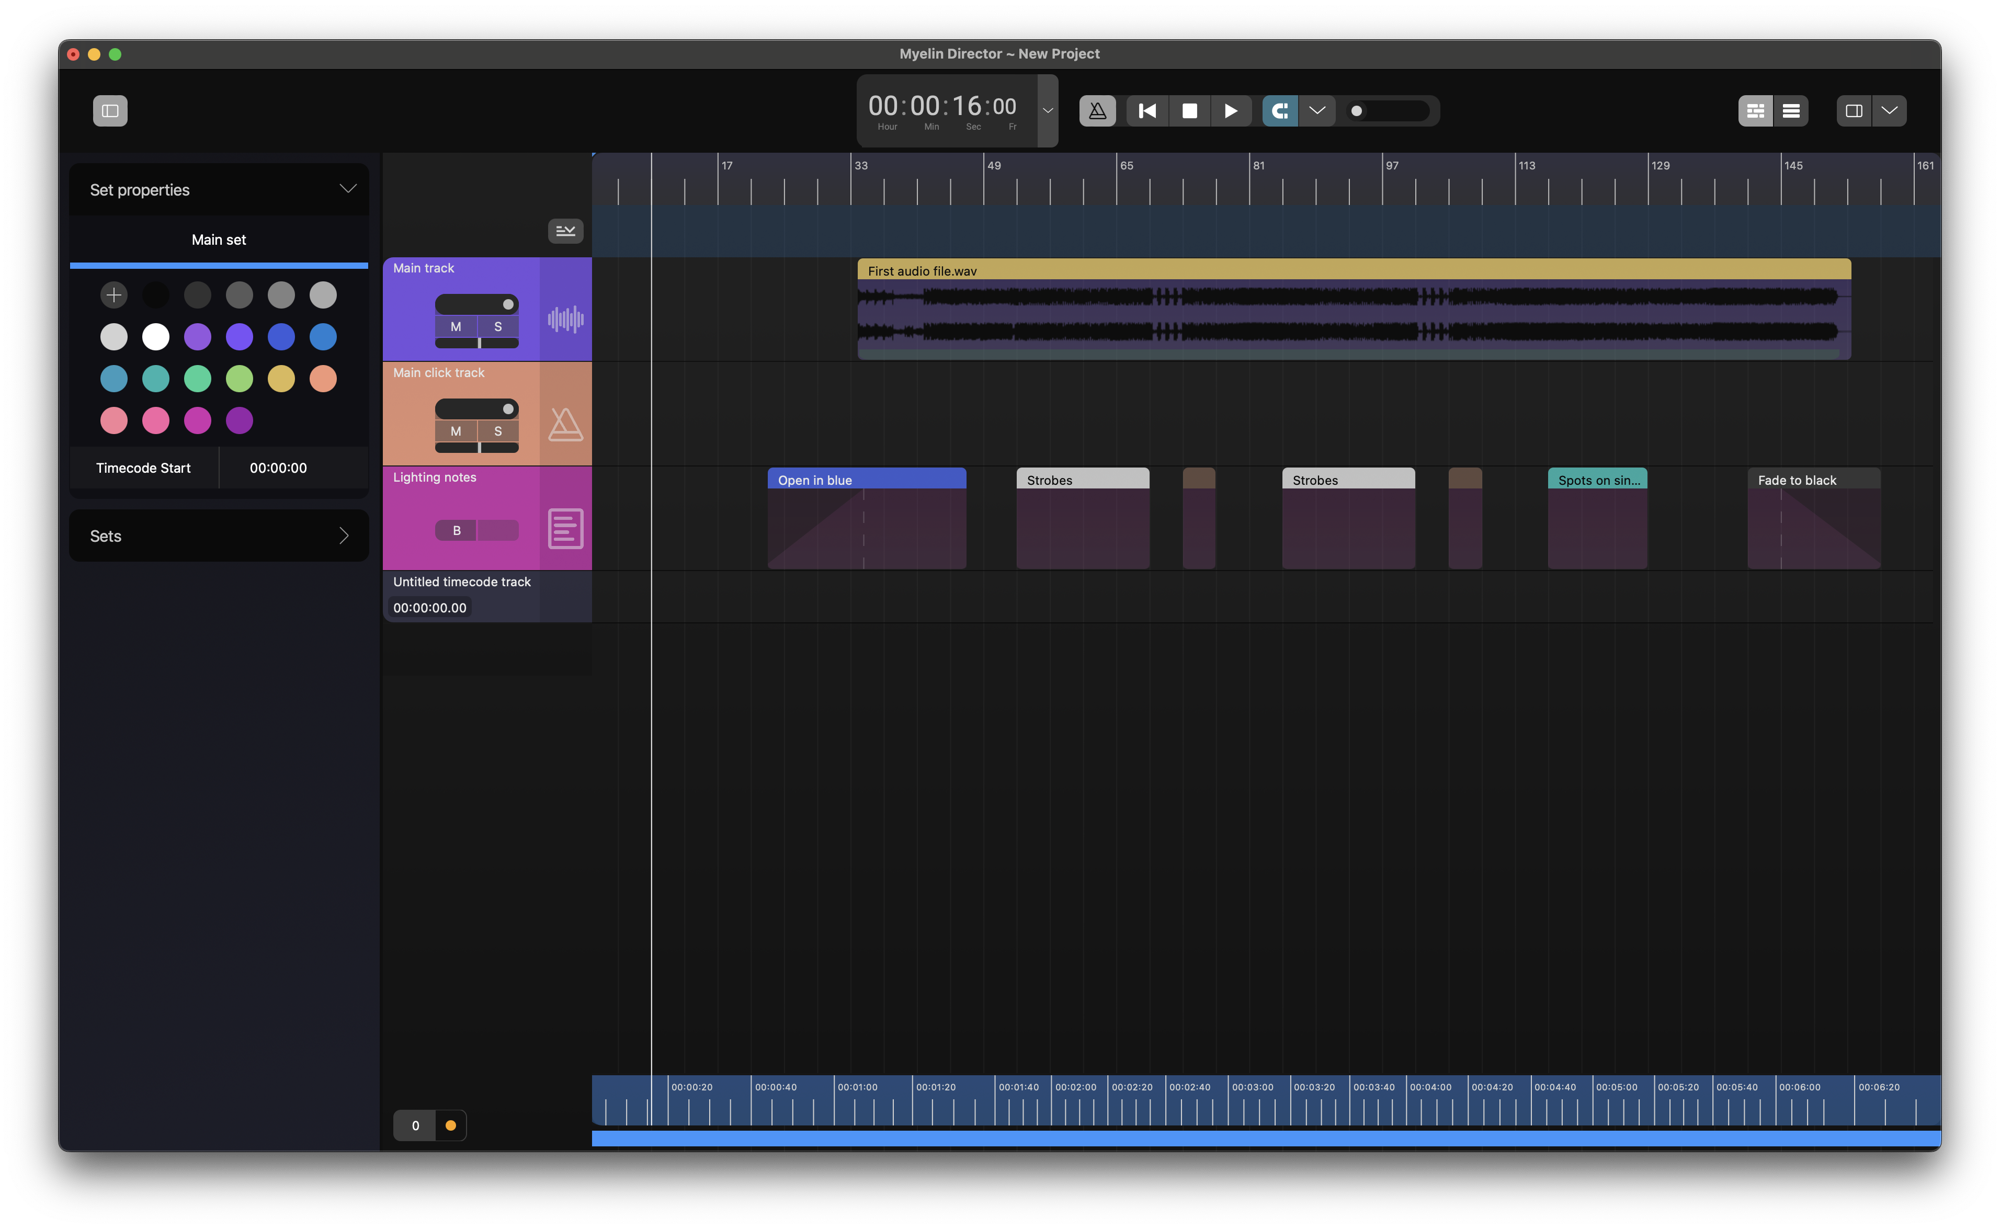
We start with a project containing an audio, click and note track.

To insert an timecode track into your project, right click on the sidebar of of the timeline, and click [Add timecode track].
We can change the name and color of the timecode track, to better reflect its function.
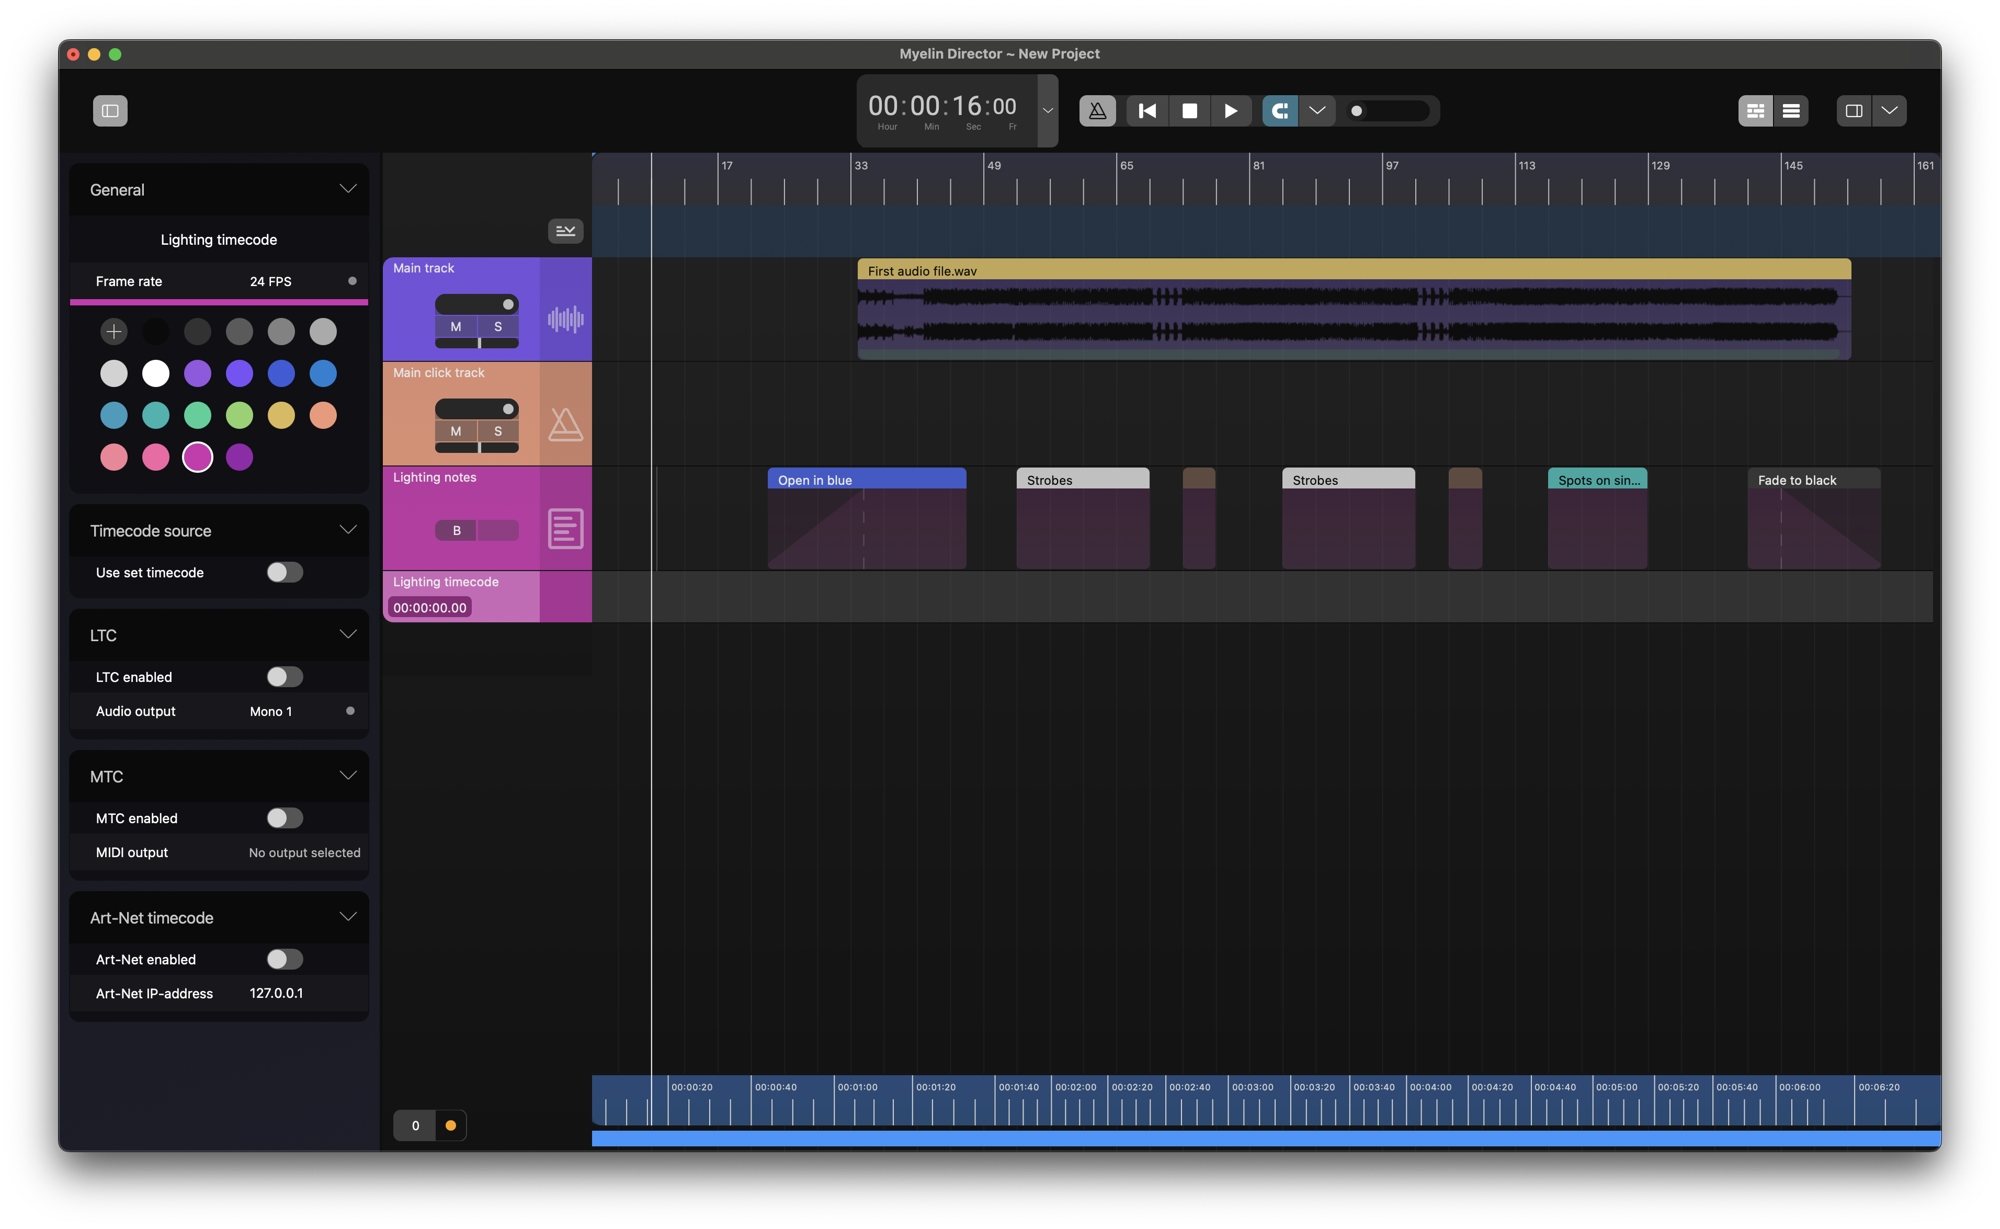
In the left sidebar, we can also change the timecode track's settings:
- Frame rate: 24 FPS, 25 FPS, 29.97 FPS DF, 30 FPS
- LTC: On/Off, audio output*
- MTC: On/Off, MIDI output**
- Art-Net On/Off, Art-Net output IP-address
* In order to have audio outputs available, they have to be enabled in the preferences of the application. Please check out the Audio Preferences docs page, to learn how to enable audio outputs.
** In order to have MIDI outputs available, they have to be enabled in the preferences of the application. Please check out the MIDI Preferences docs page, to learn how to enable MIDI outputs.
Choose your preferred frame rate, and enable the protocol you wish to use, with the desired output. In this example, we will use MTC, with MIDI output 'IAC Driver Bus 1'. The frame rate is set to 30 FPS.

Next, we have to create a timecode segment on the track. We do so, by selecting the desired area, and right clicking [Add timecode].
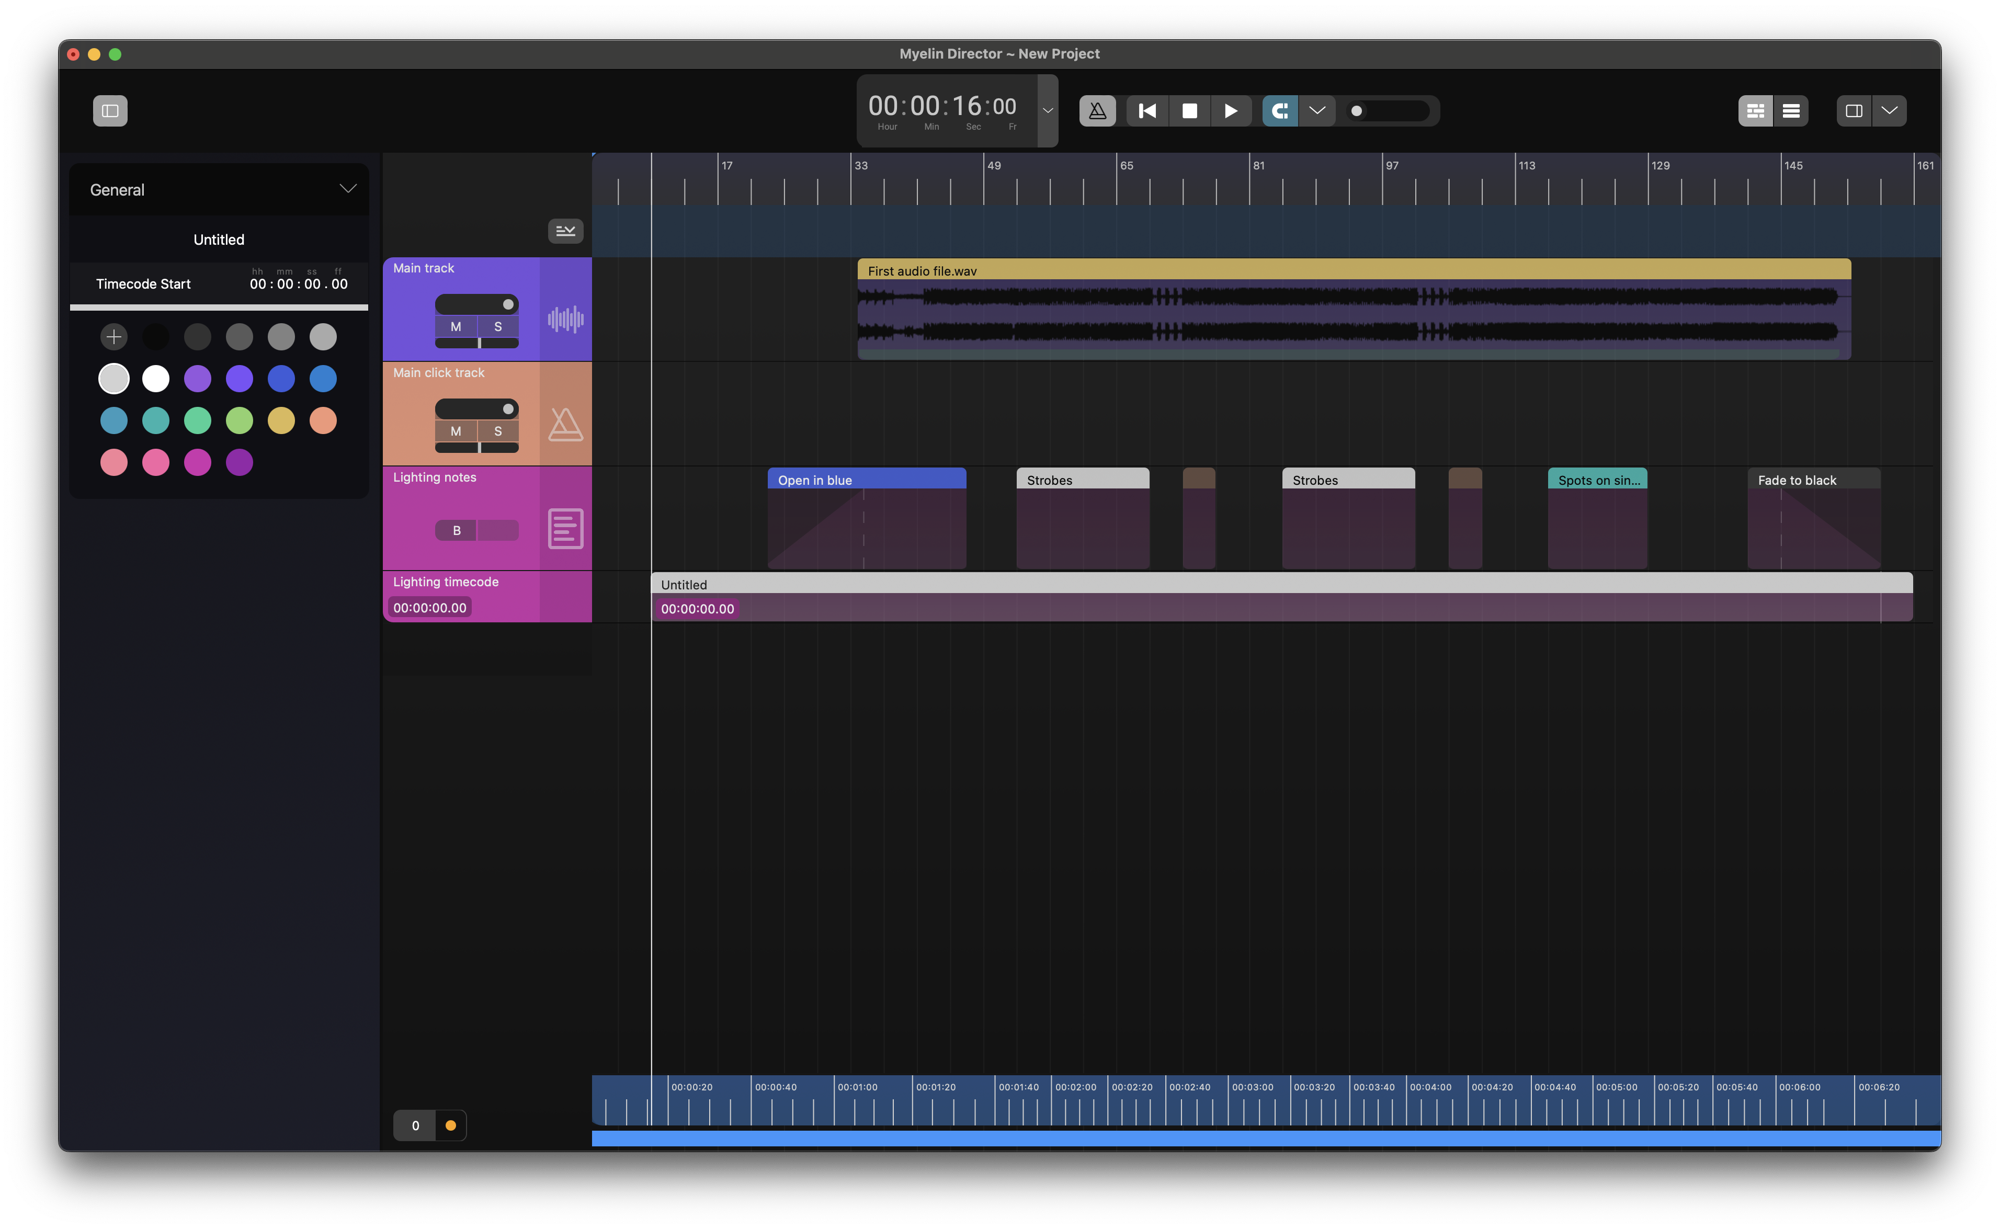
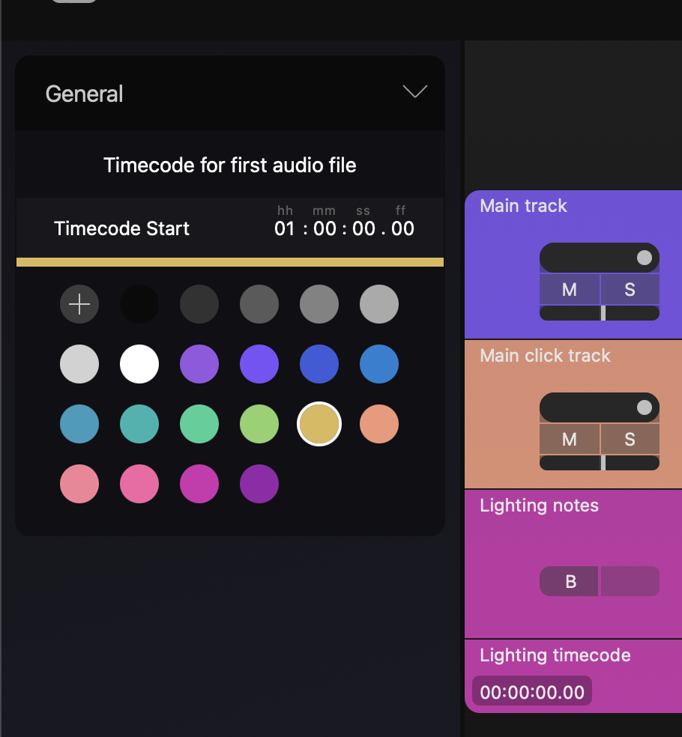
We change the name and the color of the track to better reflect its function. We can also change the starting time of the timecode segment.
Now, when playing back the project the timecode track's trackstrip as well as the timecode segment display the current timecode frame.
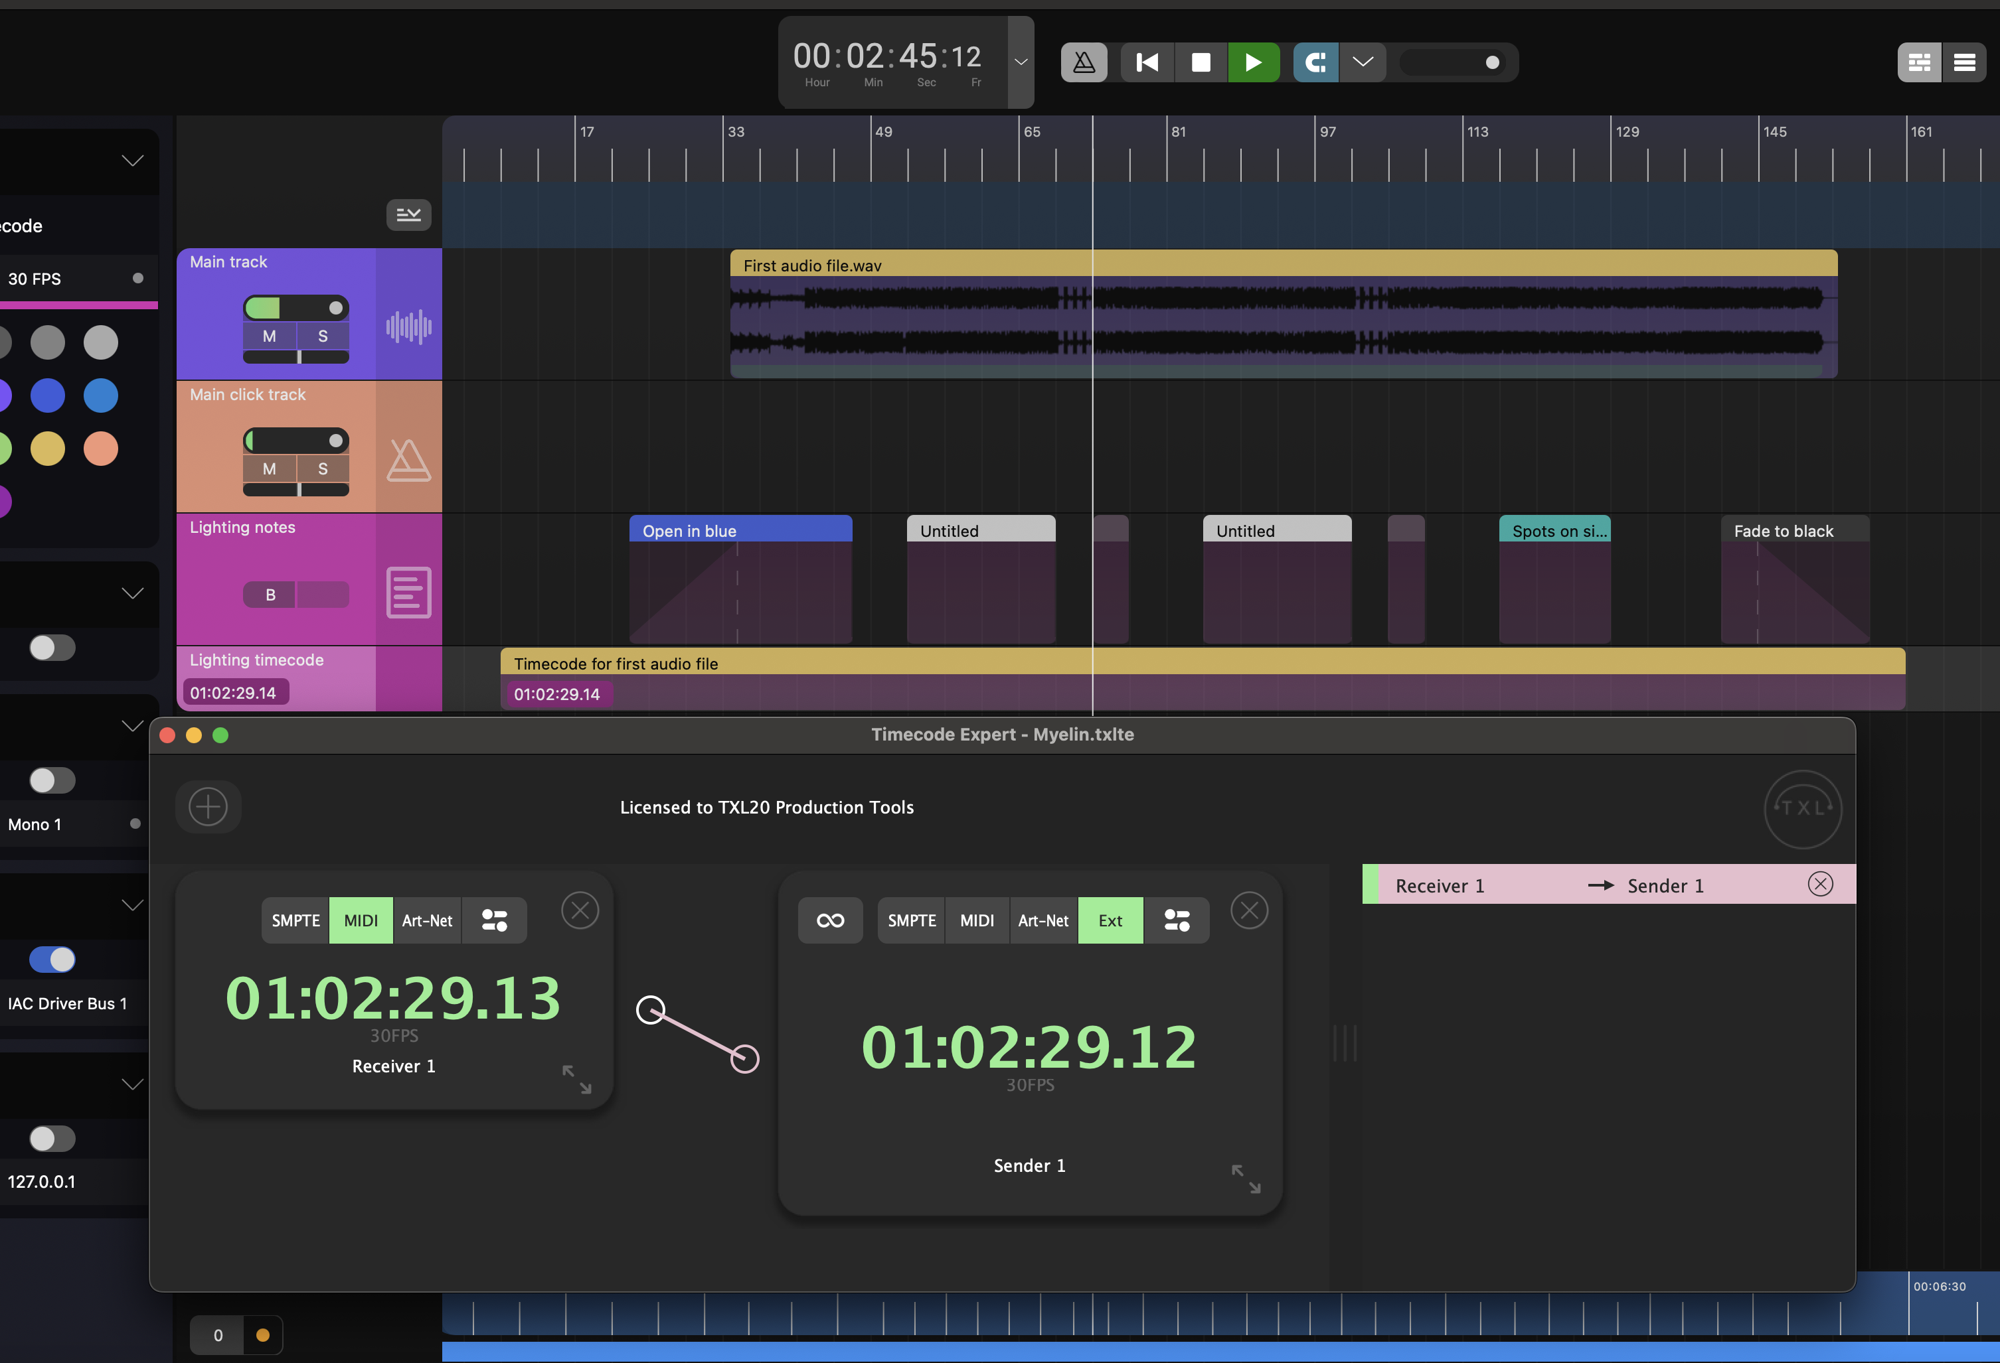
Monitoring the the timecode using Timecode Expert, we observe that the timecode is received as expected. The same principle holds for the other timecode protocols and frame rates.